Are you using photo editing software? I guess most folk are, but some may be experiencing problems with regard to ‘how’ the editing process works and what it can actually do to improve their photos. To post here with detailed information about how to effectively use every piece of image-editing software available is impossible – there are at least 25 free downloadable photo-editing software available. However, they nearly all share similar basic editing facilities.
So I guess the question that a lot of photographers who are starting out on their photo journey ask is, ‘Why should I use editing software? Afterall, in the days of film you got back from the developer exactly what you photographed…none of this fancy Photoshop stuff.’
I’m afraid I’m going to burst a few bubbles in answering this.
Commercial photo film developing companies did use some editing techniques to improve photographs. Some of the techniques they used were:
- Cropping and resizing: This was done by cutting the negative or the print to adjust the composition and the aspect ratio of the image.
- Dodging and burning: This was done by manipulating the exposure of certain areas of the print during the enlarging process. Dodging means to make a part of the photograph lighter, while burning means to make a part of the photograph darker.
- Colour correction: This was done by using filters or chemicals to adjust the colour balance and contrast of the image. For example, some films had a colour cast that could be corrected by using a complementary filter during printing.
That’s the reality folks – photo editing has always existed. But it’s far more sophisticated now – which is what we would expect. All technology moves forward.
Digital photo editing software is a powerful tool that can help you enhance your images and unleash your creativity. Whether you are a casual photographer or a professional, photo-editing software lets you get the most out of your images. Some of the benefits of using digital photo editing software are:
- You can edit RAW files alongside JPEGs without any intermediate processing, giving you more control and flexibility over your image quality.
- You can apply your own style and personality to your images, making them more unique and expressive.
- You can improve the quality and professionalism of your photos, before you share them with other people e.g. on social media.
- You can rectify errors such as unsightly blemishes, too much brightness or contrast, stains, or an unnecessary background.
- You can use AI-powered features, such as one-click editing, to automatically enhance your images using deep-learning.
For the same reasons straight out of camera (SOOC) photos have not been edited or processed in any way after being captured by the camera. And while some photographers believe this approach is more ‘true‘ (whatever that means) for its simplicity and realism, there are problems with SOOC photos that can limit quality and creativity:
SOOC photos may not reflect the true colours, contrast, and exposure of the scene, as the camera’s sensor and settings may not be able to capture the full dynamic range and nuances of light.
SOOC photos may have unwanted elements, such as dust spots, lens flare, or distracting backgrounds, that can ruin the composition and aesthetics of the image.
SOOC photos may lack the personal style and expression of the photographer, as they do not allow for any artistic adjustments or enhancements that can convey the mood, emotion, or message of the image. So if all this is true – which it is – ‘How do I learn to edit my photos? It’s all rather complicated isn’t it?’.
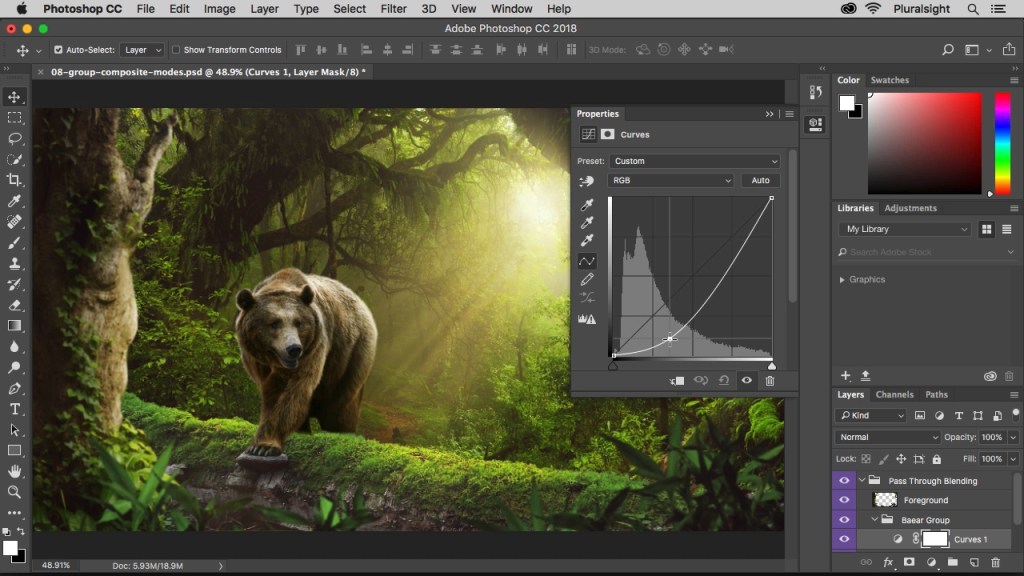
One of the easiest and quickest ways to learn to use photo-editing software is to watch and read tutorials online. There are many websites and YouTube channels that offer step-by-step guides on how to use various photo editing software programs and apps, such as Photoshop, Lightroom, Luminar, and more. You can learn the basics of photo editing, such as cropping, resizing, adjusting exposure and colors, applying filters and effects, and more. You can also learn advanced techniques, such as layers, masks, blending modes, cloning, healing, and more. You can also practice your photo editing skills by using your own photos or downloading free stock photos from websites such as Unsplash or Pexels. The more you practice, the more you will improve your photo editing abilities and develop your own style. Photo editing can be fun and rewarding, so don’t be afraid to experiment and explore your creativity.
So let’s put all this together then: there’s an abundance of editing software available – much of which is free. Learning how to use it takes practice (and time) – just like photography. I’m assuming that you’re happy to spend time learning how to improve your photography – so shouldn’t editing (post-production) be part of the process? It seems to me that the two are inseparable. Are you going to get it right first time? Or second, third or fourth? Obviously not. But, believe me when I say that it’s well worth it. The difference can be quite remarkable. It’ll take your images to another level. Give it a go. You’ll not look back.
Happy snappin’ folks
